

The chain stitch is usually used to start a project. Most crochet projects are built up from a foundation of chain stitches that anchor the stitches in place. The chain stitch is the first stitch most people learn
Patterns specify a number of chain stitches as chain x stitches or as a pattern repeat of x stitches
Chains are also used to as part of stitch patterns or at the beginning of rows to bring the working yarn up to the height of the first stitch
In this photo tutorial, I'll explain:
Terminology to remember
Working yarn = The strand that goes from your work to your ball of yarn. It is commonly known as the working yarn and is used to form stitches.
Yarn tail = The cut end of the yarn hanging from your work is called the yarn tail. It's good practice to leave a long enough yarn tail to sew in later. Often designers will say to leave at least a 6inch/15cm.
Chain (ch) = chain
Foundation/starting chain = The beginning of your project. A row of chain stitches that other stitches will be worked into or around
Materials
For this tutorial, you will need:
Yarn
Crochet Hook
Scissors
For demonstration purposes, I will be using a 6.00mm/US J-10 hook with chunky weight yarn
Hook Size for the starting chain
If you are not sure which hook to use with your yarn the first place to check is the yarn label. The label will give a hook and/needle size recommendation.

It's often a good idea to go up one hook size for the starting chain of a project. If the starting chain is too tight it can be difficult to work into and may distort your work.
If you crochet tightly or your project feels too stiff try a larger hook
If you crochet loosely and your stitches, lack definition, try a smaller hook.
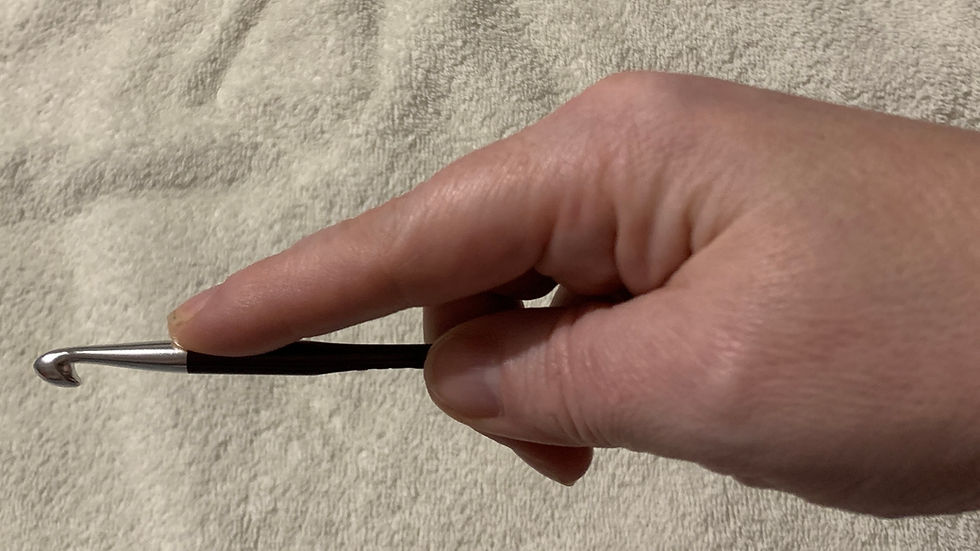
How to hold your Hook
Usually people hold the hook in their dominant hand (the one they hold a pen with). You'll see people online talk about a pencil and knife grip. The photos below show both.
Pencil Grip

Knife grip
Which should you use?
Don't worry about it too much. There's no right or wrong. It's important that you hold the hook however you feel comfortable. Hand fatigue is a real thing in crochet, especially when you first begin. You don't need to grip the hook tightly or you'll hurt your hands. Grip it firmly enough that you won't drop it but let your fingers and hand relax.
The only recommendations I would make are to keep the hook shaft as close to horizontal as possible and the hook on the end should point down. This just makes it easier to pull the yarn through loops on the hook and form evenly sized stitches.
How to make a slip knot.

Before we can start crocheting, we need to make a slip knot and put it on the hook.
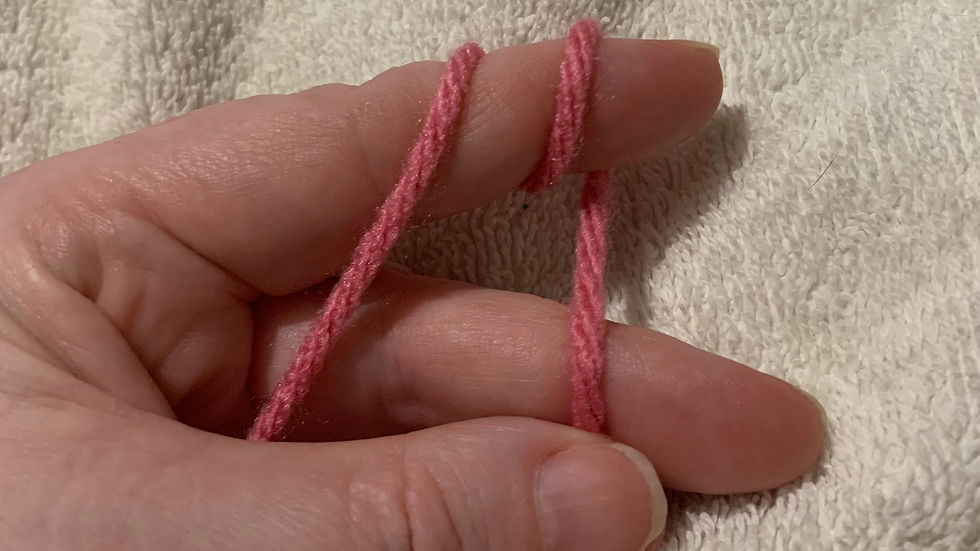
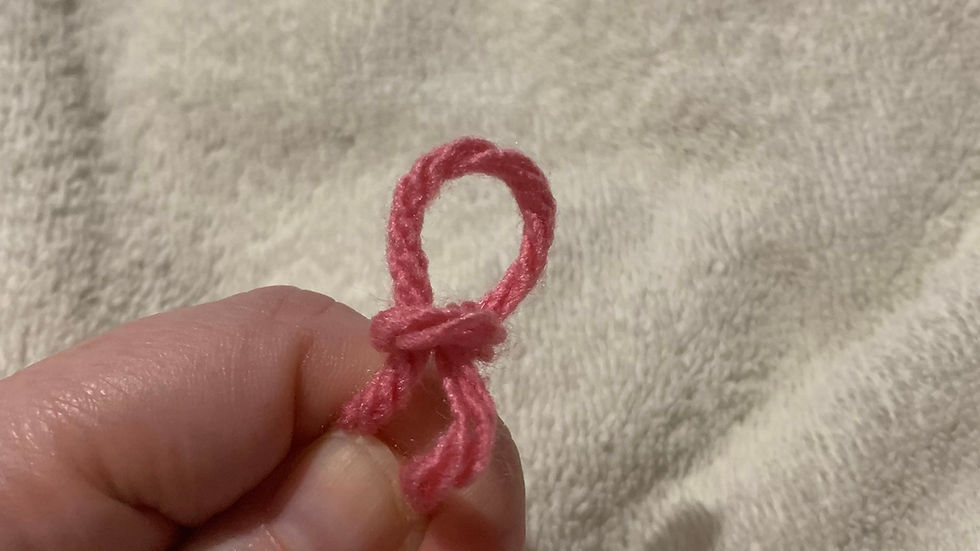
To make the slipknot, wrap the yarn twice round your finger.
Lift the lower wrap over the upper wrap but keep it on your finger.
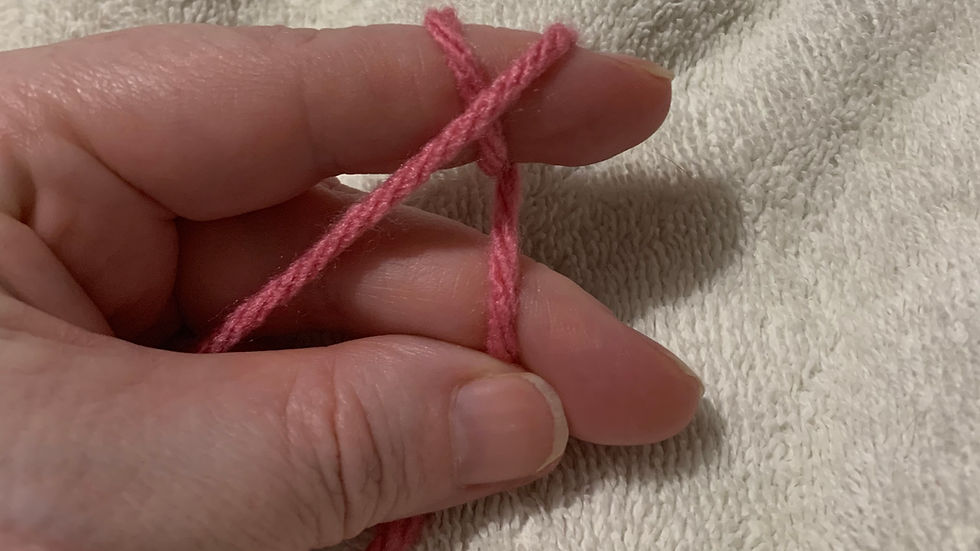
Lift the lower strand over the upper strand and off your finger.
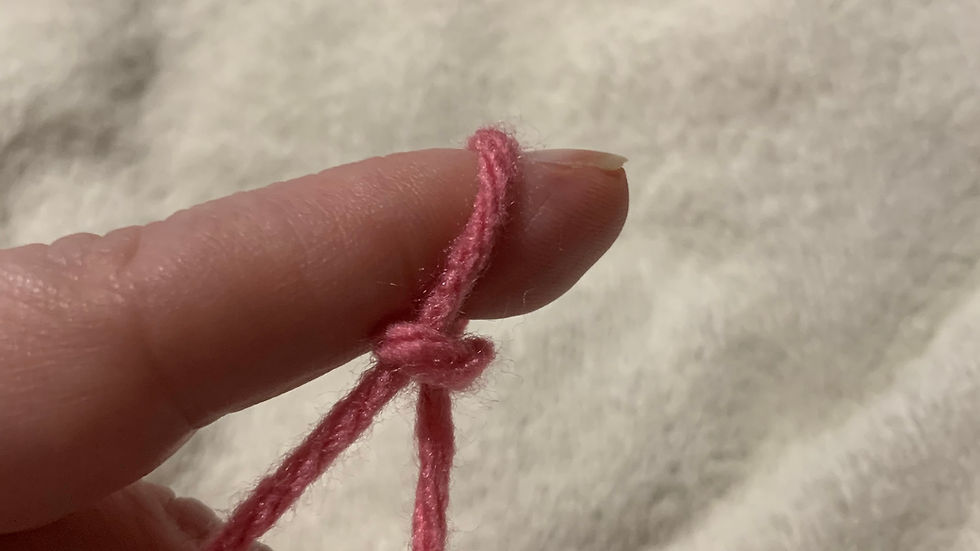
You've made a slip knot. Wasn't that quick and easy?
Slip the loop over the hook.

Pull both strands of yarn to tighten the slipknot onto the hook. It needs to be tight enough that it won't fall off but not still loose enough that the hook can pull yarn through it
How to hold the yarn
There are lots of ways to hold the yarn. Hold it in a way that feels natural to you for your comfort. The important thing is to make sure that the working yarn is taught enough that you can easily grab it with a hook to work stitches.
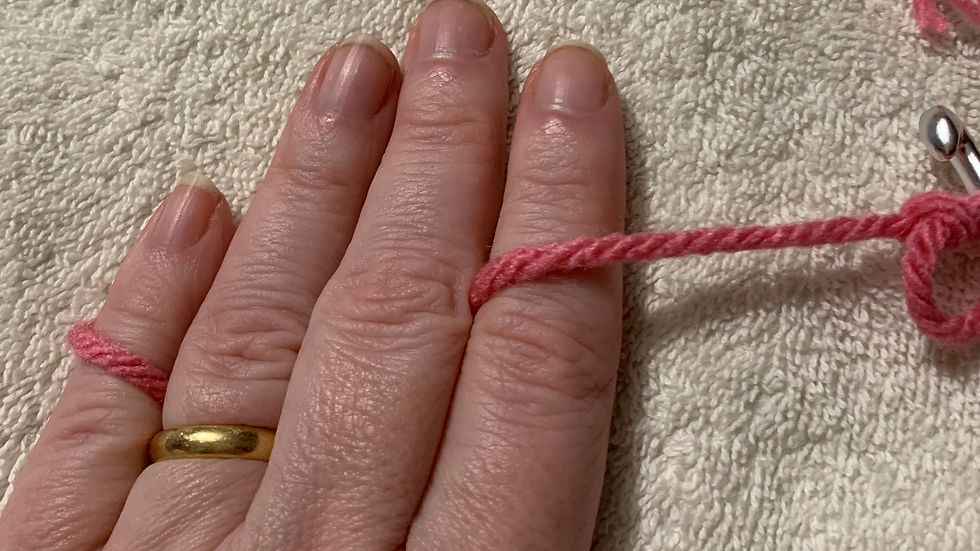
Sometimes I hold it the way I was taught as a child but most of the time I just wrap it round my index finger. Let me show you how I was taught.
As you can see the yarn wraps round the little finger, under the middle fingers and over the index finger. This allows me to adjust the yarn tension by moving my little finger

This is how it looks on top of my hand.
The final photo shows how this looks in action.

Now we've covered how to hold the hook and yarn and have a slip knot on the hook we can begin to crochet.
How to crochet a chain stitch.
To make a chain stitch we need to hook the working yarn and pull it through the loop on the hook.
So take the hook under the working yarn then up and over like this.

Then, with the little hook on the end pointing downwards, pull the yarn through the loop on the hook and you've made your first chain stitch.
It may feel tricky at first but it will get easier with practice. When you are done, cut your yarn and pull it through the loop on your hook to fasten off.
Identifying the loops of a crochet chain
Let's look at the chain you just made.
The top of a crochet chain is similar to other crochet stitches and looks like the letter V.
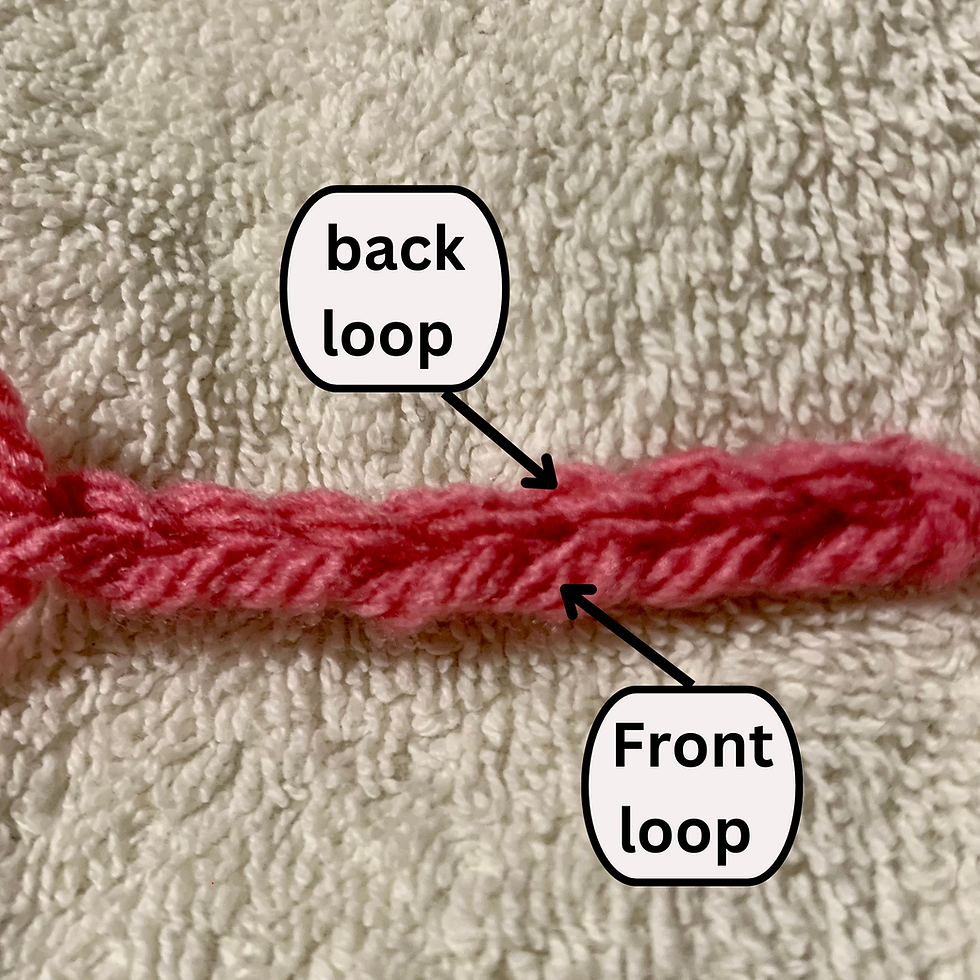
Usually we crochet under both legs of the V when we work stitches but occasionally a pattern will ask you to work in the back loop or front loop only. What do they mean?
In the picture below, the loop that should be on the hook is on the left and the yarn tail is on the right.
The loop closest to you is referred to as the front loop and the further one is the back loop.
If you turn the chain over you'll see a row of bumps. These bumps are referred to as the third loops.
Commentaires